Hymax Coupling Installation . If possible, place the coupling(s) on the replacement pipe (on both ends). Do not lubricate the bolts. Do not disassemble the coupling. Measure the pipe’s outer diameter and make sure the coupling’s size will fit properly. Do not attempt to use the hymax grip on ac. step 7 positioning the coupling for installation. hymax 2 installation instructional.
from www.rcworst.com
If possible, place the coupling(s) on the replacement pipe (on both ends). Do not attempt to use the hymax grip on ac. step 7 positioning the coupling for installation. Do not lubricate the bolts. hymax 2 installation instructional. Measure the pipe’s outer diameter and make sure the coupling’s size will fit properly. Do not disassemble the coupling.
HYMAX Wide Range Couplings
Hymax Coupling Installation Do not attempt to use the hymax grip on ac. hymax 2 installation instructional. If possible, place the coupling(s) on the replacement pipe (on both ends). Measure the pipe’s outer diameter and make sure the coupling’s size will fit properly. Do not attempt to use the hymax grip on ac. Do not lubricate the bolts. step 7 positioning the coupling for installation. Do not disassemble the coupling.
From www.siteone.com
Hymax Coupling 2 in. Range 2.10 To 3.03 SiteOne Hymax Coupling Installation Do not attempt to use the hymax grip on ac. step 7 positioning the coupling for installation. Measure the pipe’s outer diameter and make sure the coupling’s size will fit properly. hymax 2 installation instructional. Do not disassemble the coupling. Do not lubricate the bolts. If possible, place the coupling(s) on the replacement pipe (on both ends). Hymax Coupling Installation.
From www.hymaxusa.com
VERSAMAX, Emergency pipe repair, Stainless steel coupling, sleeve joint Hymax Coupling Installation Do not attempt to use the hymax grip on ac. hymax 2 installation instructional. step 7 positioning the coupling for installation. Measure the pipe’s outer diameter and make sure the coupling’s size will fit properly. If possible, place the coupling(s) on the replacement pipe (on both ends). Do not disassemble the coupling. Do not lubricate the bolts. Hymax Coupling Installation.
From www.hymaxusa.com
VERSAMAX, Emergency pipe repair, Stainless steel coupling, sleeve joint Hymax Coupling Installation Do not disassemble the coupling. Measure the pipe’s outer diameter and make sure the coupling’s size will fit properly. If possible, place the coupling(s) on the replacement pipe (on both ends). Do not attempt to use the hymax grip on ac. step 7 positioning the coupling for installation. Do not lubricate the bolts. hymax 2 installation instructional. Hymax Coupling Installation.
From www.hymaxusa.com
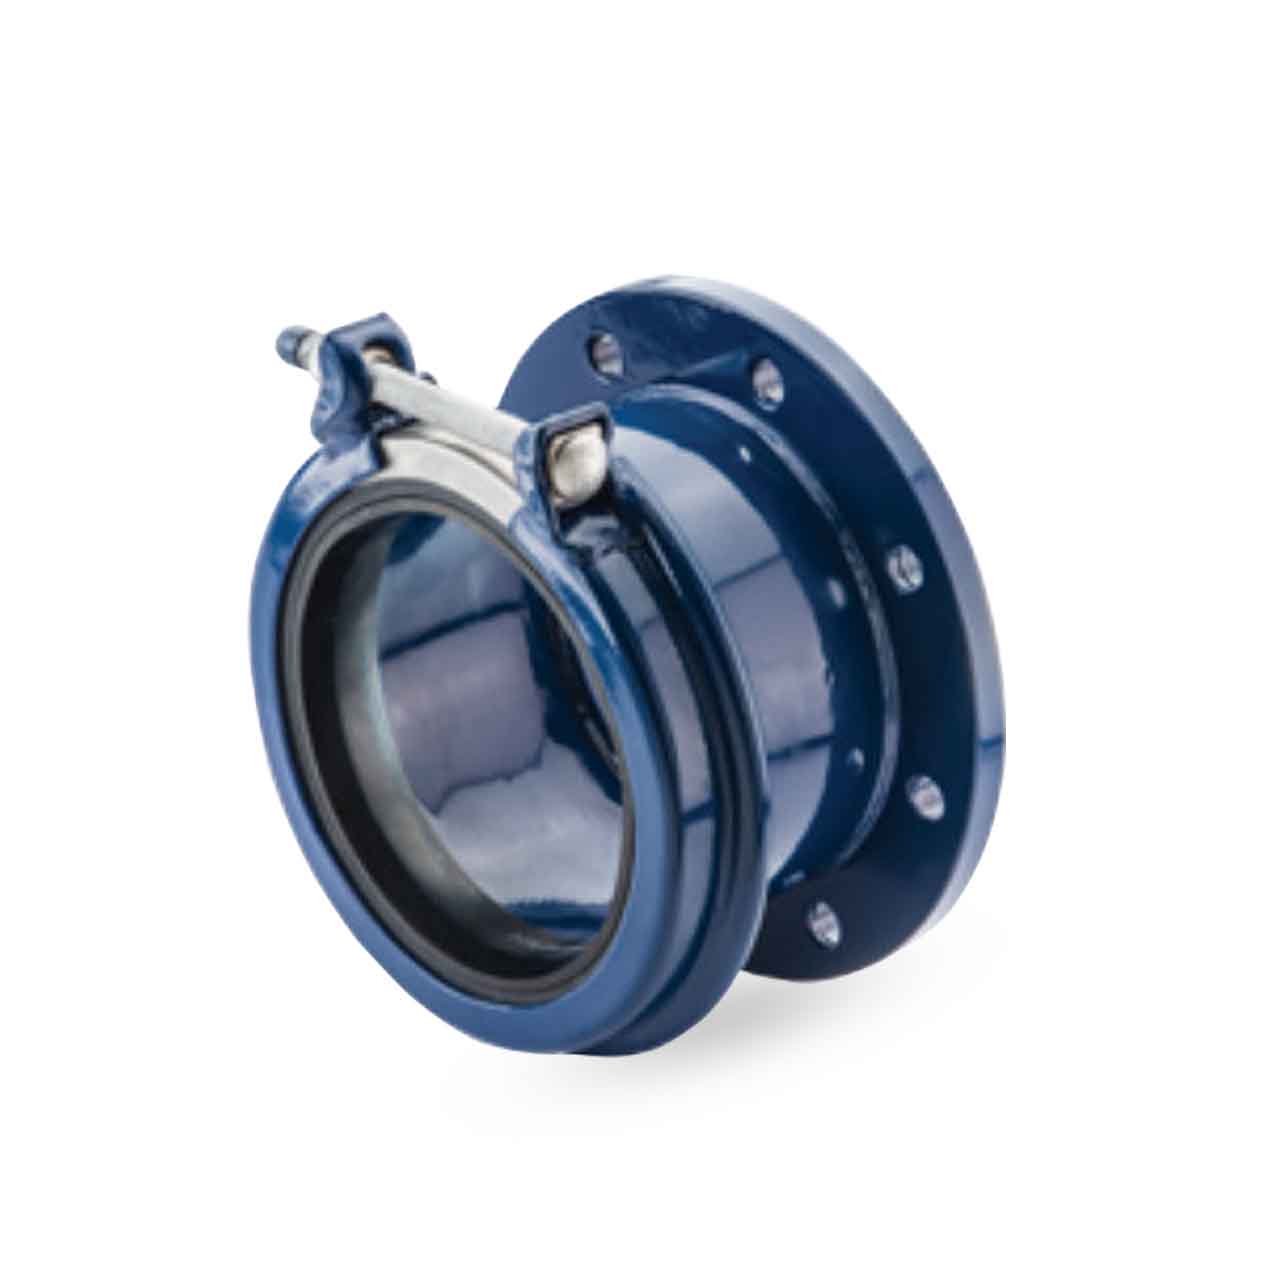
HYMAX® 2 COUPLING with flip gasket Hymax Hymax Coupling Installation Do not lubricate the bolts. Measure the pipe’s outer diameter and make sure the coupling’s size will fit properly. hymax 2 installation instructional. Do not disassemble the coupling. If possible, place the coupling(s) on the replacement pipe (on both ends). step 7 positioning the coupling for installation. Do not attempt to use the hymax grip on ac. Hymax Coupling Installation.
From www.hymaxusa.com
Product Families Hymax Hymax Coupling Installation step 7 positioning the coupling for installation. If possible, place the coupling(s) on the replacement pipe (on both ends). Do not lubricate the bolts. Measure the pipe’s outer diameter and make sure the coupling’s size will fit properly. hymax 2 installation instructional. Do not disassemble the coupling. Do not attempt to use the hymax grip on ac. Hymax Coupling Installation.
From www.slideserve.com
PPT Larger Diameter Hymax ® 14 24 Inches in Diameter PowerPoint Hymax Coupling Installation step 7 positioning the coupling for installation. Measure the pipe’s outer diameter and make sure the coupling’s size will fit properly. Do not attempt to use the hymax grip on ac. hymax 2 installation instructional. Do not disassemble the coupling. If possible, place the coupling(s) on the replacement pipe (on both ends). Do not lubricate the bolts. Hymax Coupling Installation.
From www.hymaxusa.com
HYMAX® 2 COUPLING with flip gasket Hymax Hymax Coupling Installation Measure the pipe’s outer diameter and make sure the coupling’s size will fit properly. Do not attempt to use the hymax grip on ac. Do not disassemble the coupling. step 7 positioning the coupling for installation. Do not lubricate the bolts. hymax 2 installation instructional. If possible, place the coupling(s) on the replacement pipe (on both ends). Hymax Coupling Installation.
From www.rcworst.com
HYMAX Wide Range Couplings Hymax Coupling Installation Measure the pipe’s outer diameter and make sure the coupling’s size will fit properly. Do not attempt to use the hymax grip on ac. If possible, place the coupling(s) on the replacement pipe (on both ends). step 7 positioning the coupling for installation. hymax 2 installation instructional. Do not disassemble the coupling. Do not lubricate the bolts. Hymax Coupling Installation.
From centralpipe.com
HYMAX COUPLING 3" 86054008816 (3.46"4.33") Hymax Coupling Installation Do not disassemble the coupling. Do not lubricate the bolts. step 7 positioning the coupling for installation. hymax 2 installation instructional. Measure the pipe’s outer diameter and make sure the coupling’s size will fit properly. If possible, place the coupling(s) on the replacement pipe (on both ends). Do not attempt to use the hymax grip on ac. Hymax Coupling Installation.
From www.hymaxusa.com
HYMAX® 2 COUPLING with flip gasket Hymax Hymax Coupling Installation Measure the pipe’s outer diameter and make sure the coupling’s size will fit properly. step 7 positioning the coupling for installation. Do not lubricate the bolts. hymax 2 installation instructional. Do not disassemble the coupling. Do not attempt to use the hymax grip on ac. If possible, place the coupling(s) on the replacement pipe (on both ends). Hymax Coupling Installation.
From www.hymaxusa.com
HYMAX® 2 COUPLING with flip gasket Hymax Hymax Coupling Installation Measure the pipe’s outer diameter and make sure the coupling’s size will fit properly. Do not attempt to use the hymax grip on ac. Do not lubricate the bolts. If possible, place the coupling(s) on the replacement pipe (on both ends). Do not disassemble the coupling. step 7 positioning the coupling for installation. hymax 2 installation instructional. Hymax Coupling Installation.
From www.hymaxusa.com
Product Feature HYMAX GRIP SwivelJoint Hymax Hymax Coupling Installation step 7 positioning the coupling for installation. Measure the pipe’s outer diameter and make sure the coupling’s size will fit properly. If possible, place the coupling(s) on the replacement pipe (on both ends). Do not disassemble the coupling. Do not lubricate the bolts. hymax 2 installation instructional. Do not attempt to use the hymax grip on ac. Hymax Coupling Installation.
From www.youtube.com
Introducing the allnew HYMAX®️ Pro Dedicated Size Coupling YouTube Hymax Coupling Installation Measure the pipe’s outer diameter and make sure the coupling’s size will fit properly. Do not lubricate the bolts. hymax 2 installation instructional. Do not disassemble the coupling. step 7 positioning the coupling for installation. Do not attempt to use the hymax grip on ac. If possible, place the coupling(s) on the replacement pipe (on both ends). Hymax Coupling Installation.
From www.hymaxusa.com
2bolt clamps , HYMAX, Coupling and Restraint products , Wastewater Hymax Coupling Installation step 7 positioning the coupling for installation. Do not disassemble the coupling. If possible, place the coupling(s) on the replacement pipe (on both ends). Measure the pipe’s outer diameter and make sure the coupling’s size will fit properly. hymax 2 installation instructional. Do not lubricate the bolts. Do not attempt to use the hymax grip on ac. Hymax Coupling Installation.
From www.youtube.com
HYMAX GRIP installation video YouTube Hymax Coupling Installation Do not lubricate the bolts. Do not disassemble the coupling. Measure the pipe’s outer diameter and make sure the coupling’s size will fit properly. hymax 2 installation instructional. Do not attempt to use the hymax grip on ac. If possible, place the coupling(s) on the replacement pipe (on both ends). step 7 positioning the coupling for installation. Hymax Coupling Installation.
From www.hymaxusa.com
HYMAX® 2 COUPLING with flip gasket Hymax Hymax Coupling Installation Do not attempt to use the hymax grip on ac. Do not disassemble the coupling. If possible, place the coupling(s) on the replacement pipe (on both ends). Do not lubricate the bolts. Measure the pipe’s outer diameter and make sure the coupling’s size will fit properly. hymax 2 installation instructional. step 7 positioning the coupling for installation. Hymax Coupling Installation.
From www.tpomag.com
Krausz USA HYMAX 2 Coupling Treatment Plant Operator Hymax Coupling Installation Do not lubricate the bolts. If possible, place the coupling(s) on the replacement pipe (on both ends). Measure the pipe’s outer diameter and make sure the coupling’s size will fit properly. hymax 2 installation instructional. step 7 positioning the coupling for installation. Do not attempt to use the hymax grip on ac. Do not disassemble the coupling. Hymax Coupling Installation.
From www.infrastruct.ca
infraStruct City of Regina Hymax Coupling Install Hymax Coupling Installation Do not disassemble the coupling. step 7 positioning the coupling for installation. Do not lubricate the bolts. Do not attempt to use the hymax grip on ac. hymax 2 installation instructional. Measure the pipe’s outer diameter and make sure the coupling’s size will fit properly. If possible, place the coupling(s) on the replacement pipe (on both ends). Hymax Coupling Installation.